That empty room is staring at you again. You’ve got ideas swirling around—a cozy reading nook here, maybe some plants there. But then you start second-guessing everything. Maybe I should do a second sofa instead of accent chairs? Maybe I should stick to neutral colors?
Here’s the thing: learning how to design a room isn’t about having a magic eye for decor. It’s about following a smart process that saves you from expensive mistakes. And trust me, I’ve made those mistakes so you don’t have to.
Jump to:
- Step 1: Create Your Measurement Sheet
- Step 2: Define Your Room's Purpose
- Step 3: Build Your Mood Board
- Step 4: Tackle Wall Treatments First
- Step 5: Plan Your Furniture Layout
- Step 6: Start Shopping (The Smart Way)
- Step 7: Add Rugs and Window Treatments
- Step 8: Don't Rush the Decor
- Step 9: Layer in Your Lighting
Step 1: Create Your Measurement Sheet
I know, I know. Measuring sounds boring. But this is the number one mistake people make when figuring out how to design a room.
I learned this the hard way when I bought a bouclé two-seater couch for my bedroom. It looked so chic in my mind—a perfect reading spot. Except it was too big to leave a clear pathway for me to sit at my desk. I had to shove it in my living room instead, where it absolutely did not belong. Not cute.
So please, save yourself the hassle. Grab a measuring tape and write down:
- Width, length, and height of the room (floor to ceiling)
- Width and height of the door (because furniture needs to actually get IN)
- Window width
- Wall sections around windows (you don’t want to block natural light)
Leave space on your sheet for furniture measurements. You’ll fill those in later.
This might be the least fun part of how to design a room, but it’s also the most important. You will thank yourself when everything actually fits.
Step 2: Define Your Room’s Purpose
This seems obvious, right? A living room is for living. A bedroom is for sleeping. Done.
Not quite.
People skip this step because they think they know what they need. Then they furnish the room and realize they forgot about their Sunday morning workouts. Or that they host game nights twice a month. Or that their toddler needs a play area.
Sit down for 20 minutes and really think about what you’ll do in this room:
- Will you read? Write? Watch TV? Eat? Work out?
- Do you host gatherings here?
- Do you need storage for seasonal items or books?
Give yourself a couple days to add anything you forgot. This list becomes your blueprint.
Pro Tip: Let ChatGPT Help You Think It Through
Once measurements and purpose are nailed down, I like to run my plan by ChatGPT (or any other AI chatbot) at this stage.
Give it your room dimensions and tell it exactly what you need the space to do. Then ask what furniture combinations would work best. It catches things I miss every single time—like “another cupboard to hide your workout equipment” or “an ottoman that also doubles as storage”
It’s like having a second brain that remembers the practical stuff while your focus is elsewhere.
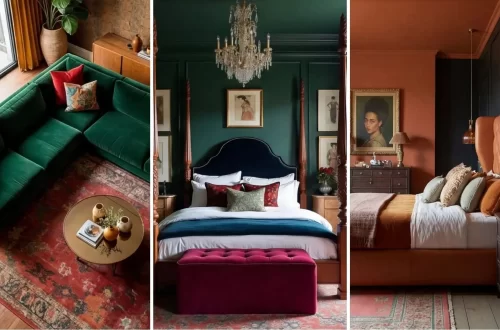
Step 3: Build Your Mood Board
Finally, the fun part! Now you can actually start thinking about how your room will look and feel.
I always create a mood board before shopping. It keeps me focused and prevents those “I love this but it doesn’t match anything” moments.
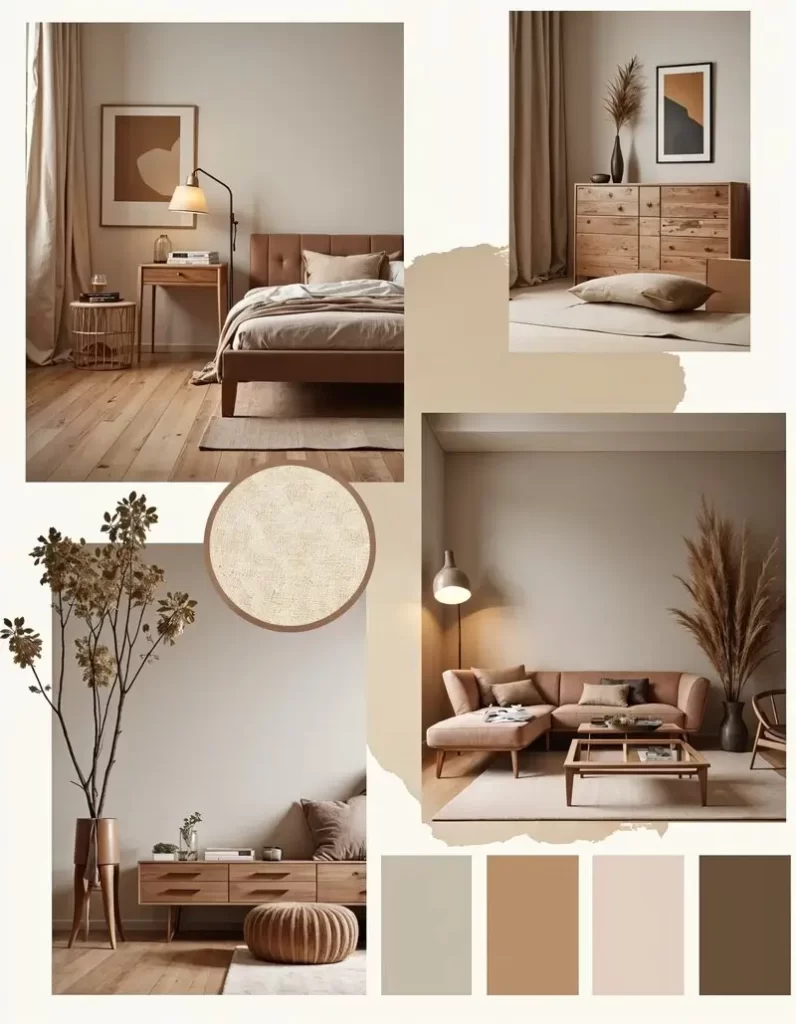
How to Build It
Start on Pinterest. Create a board and pin whatever catches your eye. Don’t overthink it at first—just save things you’re drawn to.
After about 20 pins, you’ll notice a pattern. Maybe you keep gravitating toward earthy tones. Or you’re really drawn to vintage maximalism. Look at your board and delete anything that doesn’t fit the emerging vibe.
Aim for variety in your pins: wide room shots, close-up decor details, cozy corners. This gives you a complete picture of the aesthetic.
Once you have a strong vision on Pinterest, move to Canva. Pick your favorite images and drop them on a page. Now extract your color palette from these pictures.
Stick to five colors maximum. You can use different shades of each color in your room (in fact, you should), but don’t go beyond five base colors. This palette will be your shopping filter for everything.
My full guide in this post: Interior Design Mood Board: Create One in 5 Simple Steps
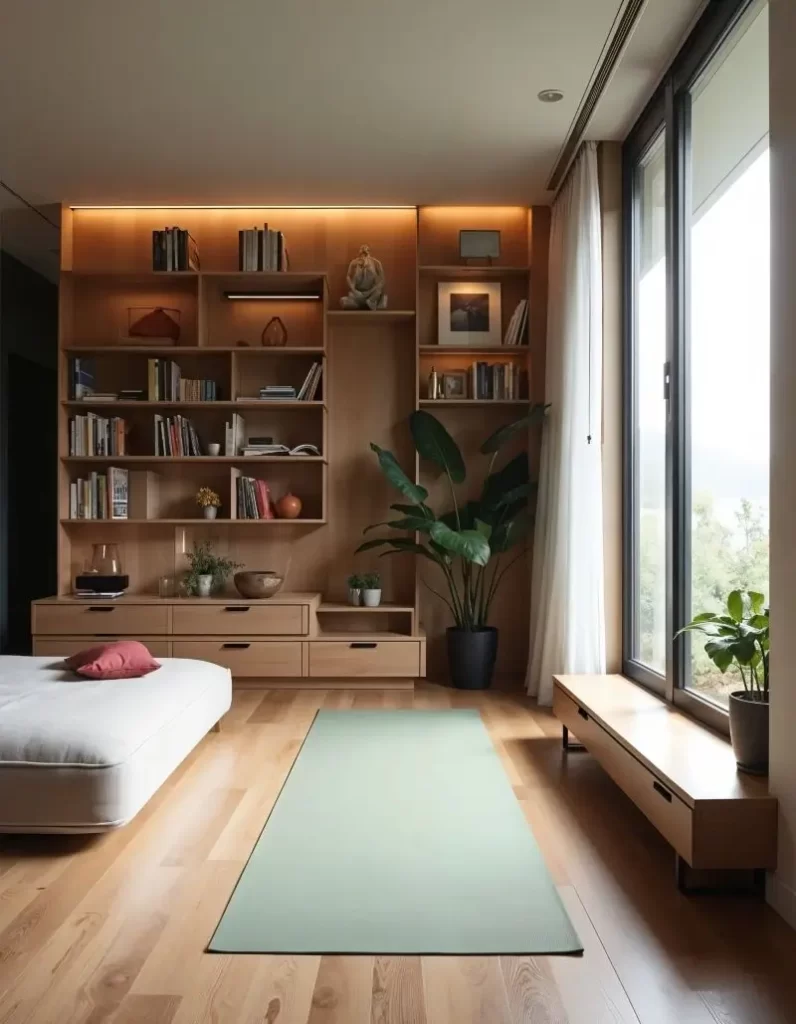
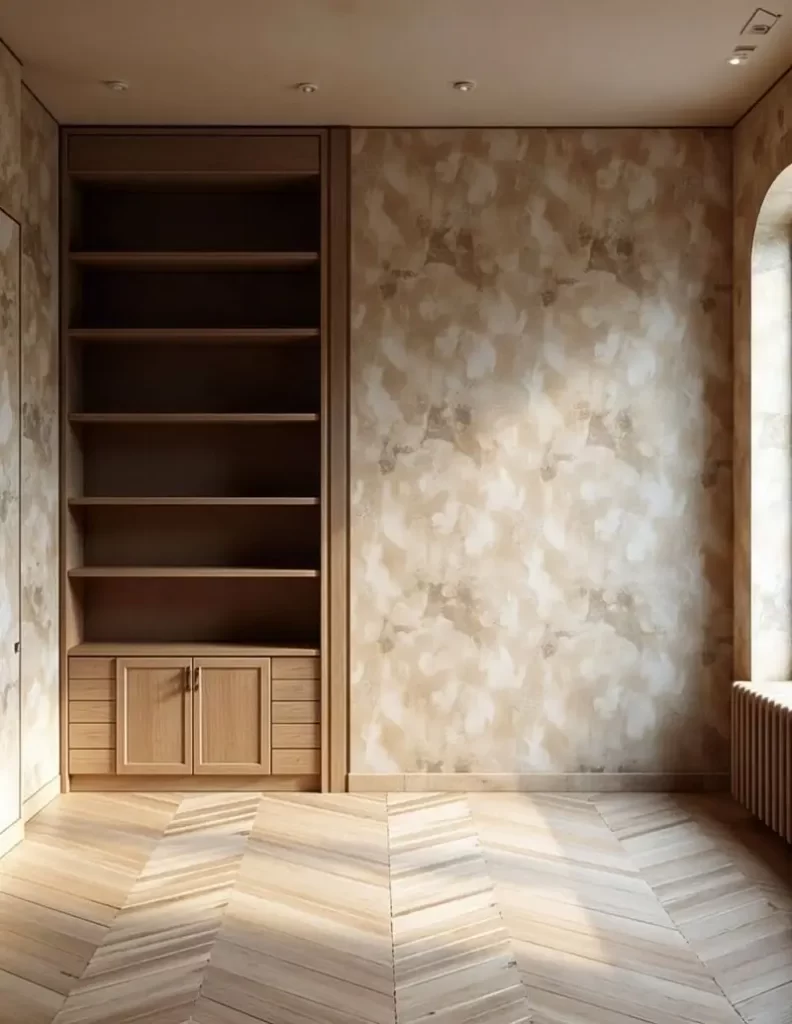
Step 4: Tackle Wall Treatments First
If you’re planning to paint or wallpaper, do it now before furniture arrives. Moving a couch to protect it from paint splatters is nobody’s idea of fun.
My Wall Treatment Philosophy
Always start with samples. Always. A paint color or wallpaper never looks the same in your space as it does in the catalog. I once painted a room terracotta and it was way too bright—completely overwhelming. A sample would have saved me the repaint job.
Don’t oversaturate unless you’re really confident. Dark colors and busy wallpapers can look stunning on a small sample. But cover an entire room and suddenly it feels claustrophobic.
When in doubt, start with one accent wall. See how you feel. You can always expand later.
Safe bets for how to design a room that stands the test of time: Light colors and subtle wallpaper in your chosen palette. They work with everything and won’t feel dated in two years.
If you can’t start with walls right now, that’s fine. You can always tackle this later when the room is furnished and you’re more confident about what you want.
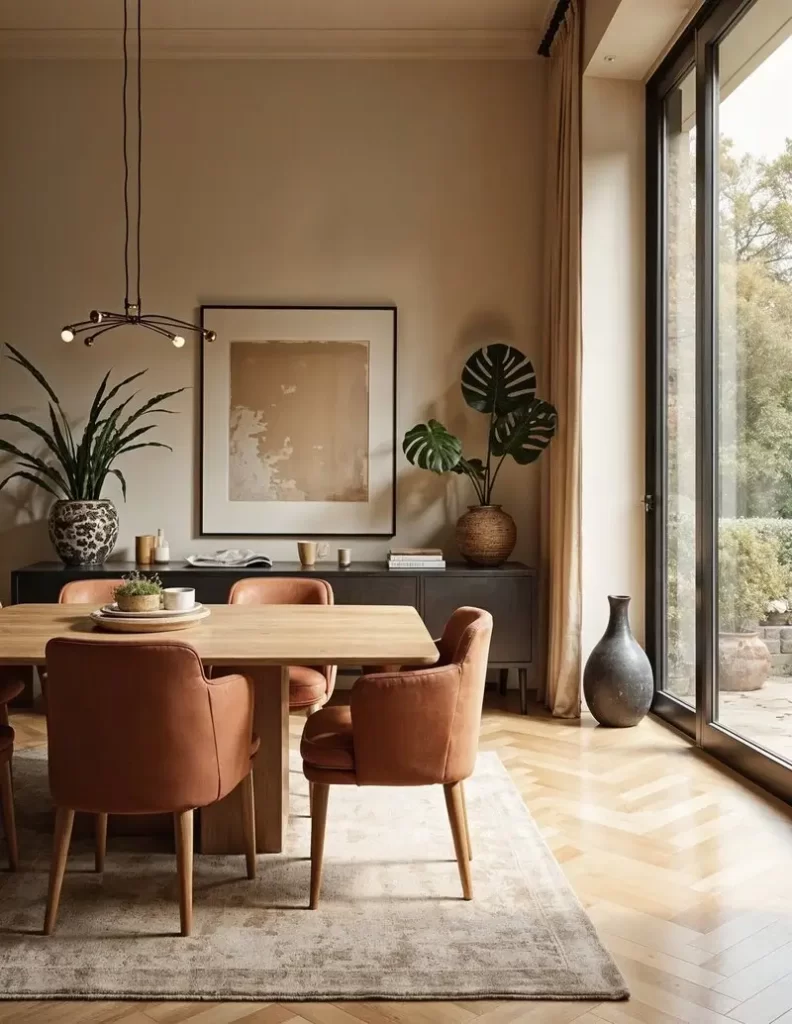
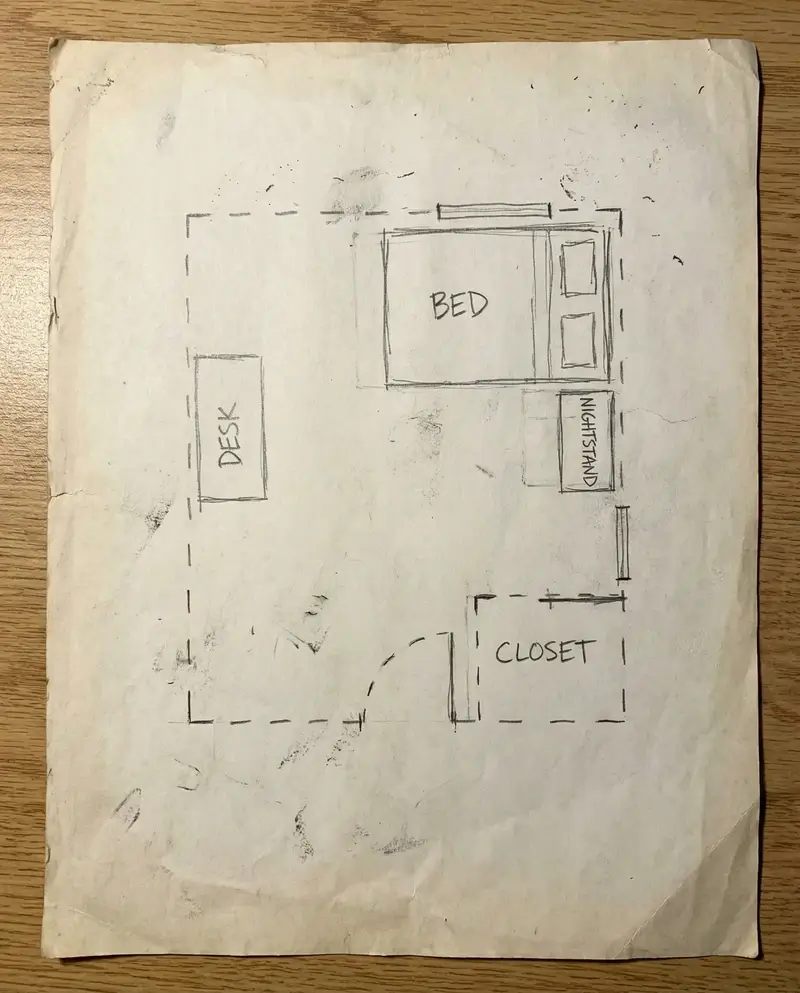
Step 5: Plan Your Furniture Layout
Before you buy a single piece, figure out where your main pieces will go. This step is crucial to design a room that functions well. Don’t sweat the details, focus on larger furniture.
Traffic Flow Matters
People need to walk through your room without doing an obstacle course. Leave clear pathways—at least 24-30 inches wide—between furniture pieces.
Less truly is more here. An overcrowded room feels stressful rather than cozy.
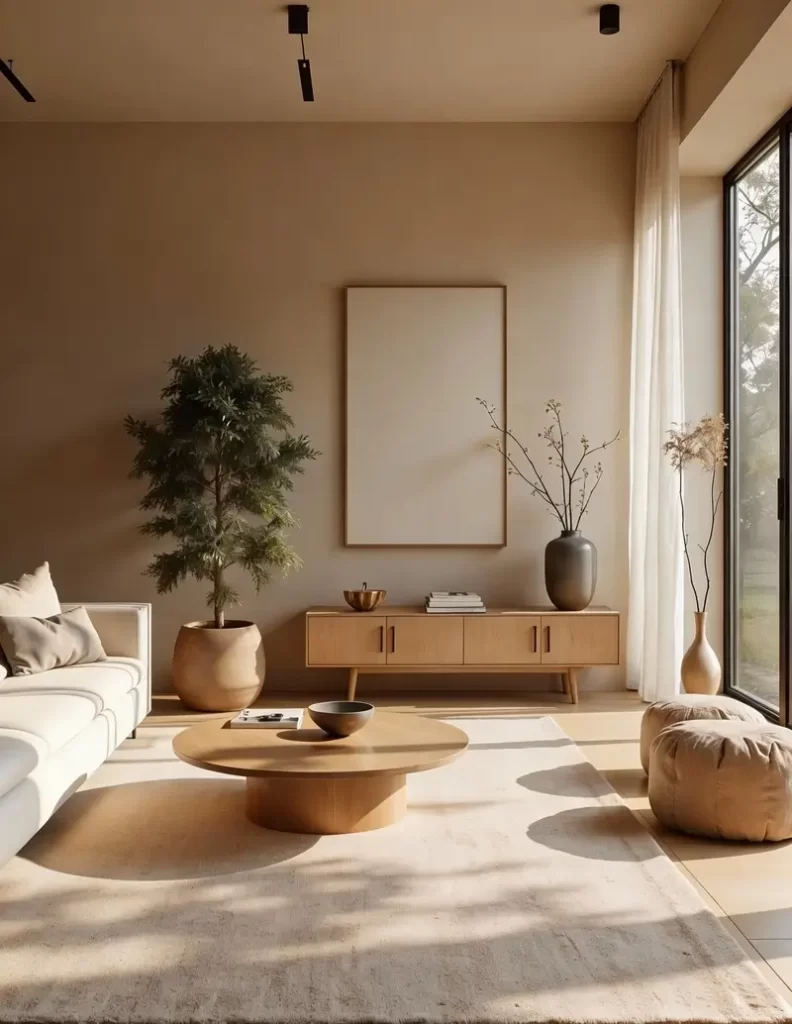
Create a Focal Point
Every room needs at least one large focal point. This could be:
- A statement sofa or bed
- A gallery wall of art
- A stunning piece of furniture like a vintage armoire
- An architectural feature like a fireplace
Your focal point anchors the room. Everything else supports it.
You May Also Like: Gallery Wall Art: Your Complete Guide to Getting It Right
Sketch Your Layout
Use your measurement sheet to sketch where major pieces will go. You can do this on paper or use a simple online room planner.
Make sure furniture isn’t blocking windows or creating awkward dead spaces. And remember: not every wall needs something against it. Sometimes empty space is exactly what a room needs.
Step 6: Start Shopping (The Smart Way)
You know what you need. You know where it goes. Now comes the part where most people mess up: they buy everything at once.
Don’t do this. Seriously.
Start with Essentials Only
For a living room: the sofa, coffee table, and TV stand.
In a bedroom: the bed and maybe one nightstand.
And for a dining room: just the table and chairs.
You get the idea.
Buy these core pieces first and live with them for a few days. This lets you:
- See if proportions feel right
- Test if you’re comfortable
- Think about what would complement what you have
- Figure out what colors you need next to balance things out
I can’t tell you how many times I thought I needed something, got the essentials first, and realized I actually needed something different. Never fails to happen.
Where to Shop
Back in Dakar, there are local carpenters who custom-make furniture. Pieces made specifically for your space are a small luxury. But in general, you probably want a mix of big-box store items and artisanal pieces.
For decor, I mostly go straight to artisans, or thrift. The quality and uniqueness are worth it.
When shopping, measure out the approximate space for each piece beforehand. Write those measurements in your sheet. Then stick to them ruthlessly.
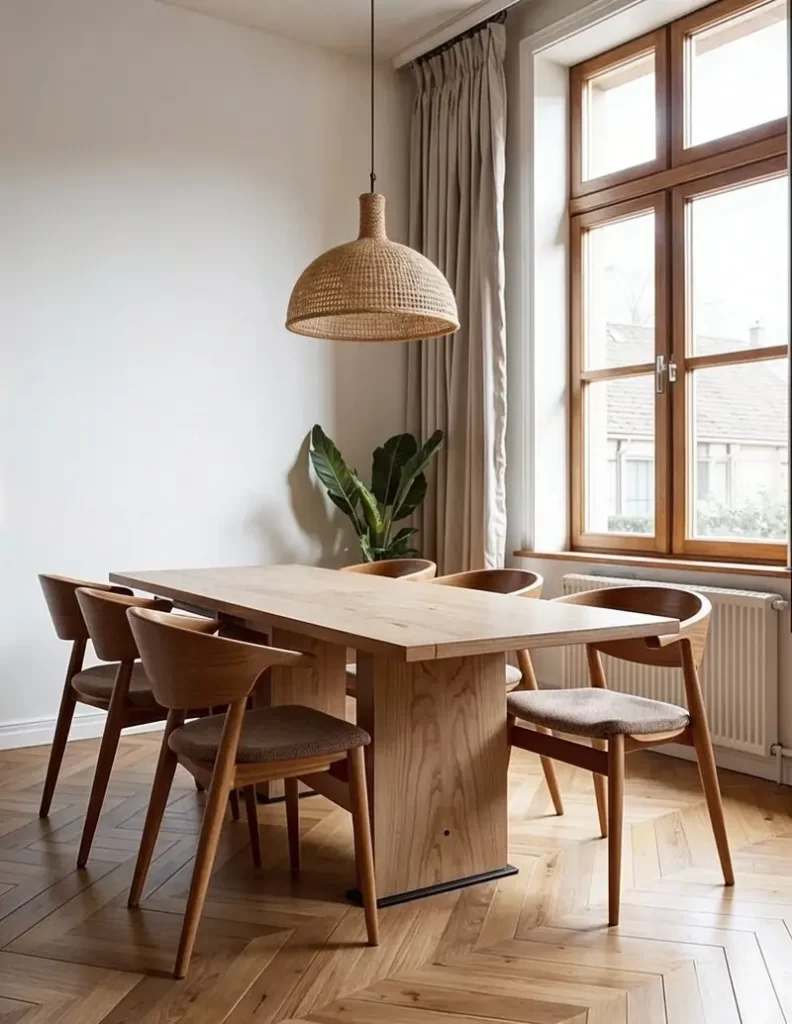
Step 7: Add Rugs and Window Treatments
Once your main furniture is in place, it’s time to add the elements that make a room feel finished.
How to Design a Room: Rug Rules
Rugs should be in a central spot—unless you’re using multiple rugs to define different zones.
The golden rule: your rug should be big enough for all the furniture in that zone to sit fully on it. In the living room for instance, all four legs of your sofa and chairs should fit and then some. This grounds the space and makes it feel intentional.
Too-small rugs make rooms look disconnected and cheap. No cheap look for us.
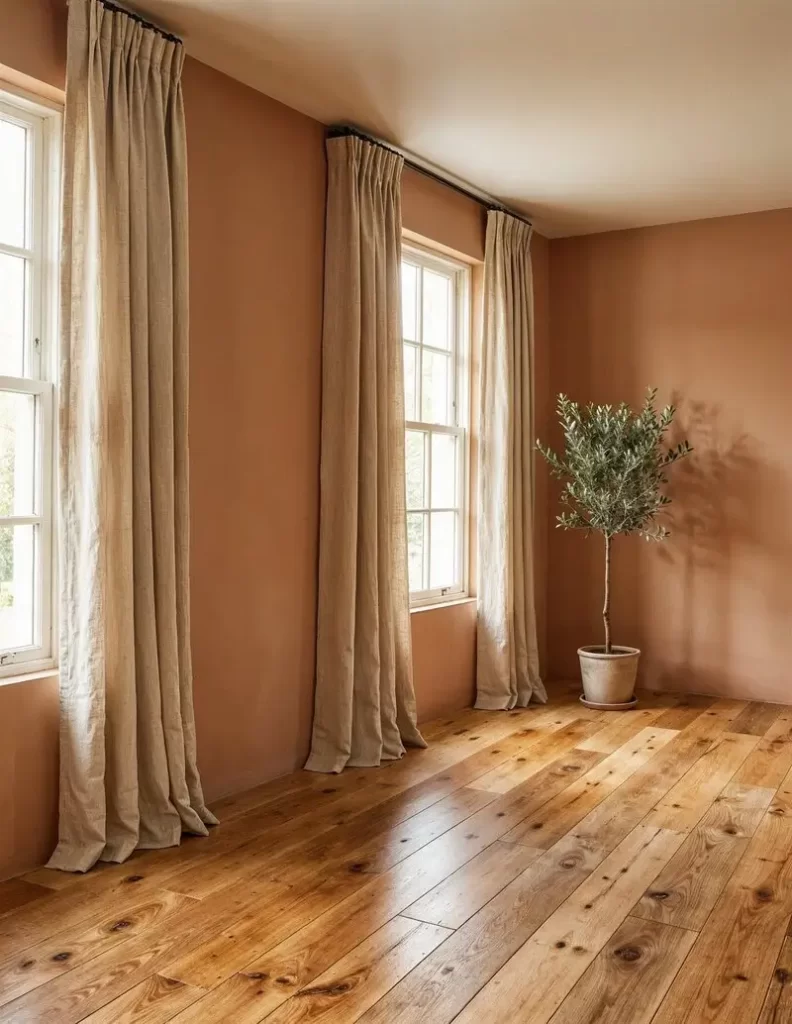
Window Treatments
I’m a floor-to-ceiling curtain person, hands down. So chic. So elegant. They make ceilings look higher and rooms look more expensive (even when the curtains are not).
Want to level up even more? Layer sheer curtains under solid curtains. The sheers give you daytime privacy while letting in light. The solid curtains give you full coverage at night. This layered look is absolutely gorgeous.
Blinds and Roman shades are fine for kitchens and bathrooms where you need something practical. But for main living spaces? Curtains all the way.
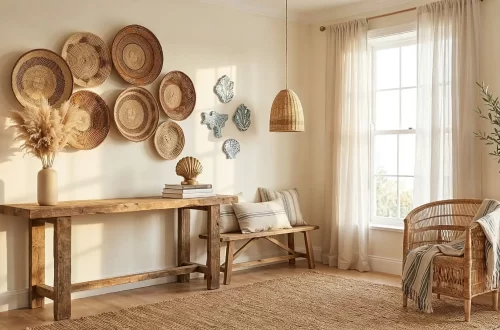
Step 8: Don’t Rush the Decor
This is where people get impatient. The room is furnished but feels bare. So they run out and buy all the decor they think they need.
No no no.
Yes, grab a few pieces you love to start styling the room. A beautiful vase, some books, maybe a plant. But don’t fill every surface in one shopping trip.
Here’s why: you’ll realize some things don’t work together like you thought. And you’ll leave no room for the joyful process of curating a space over time.
My Decor Philosophy
If you really want to buy most of your decor now, at least put everything in a mood board first. Try to emulate how you’ll place things in the room. See how they look together.
But even then, I’d recommend staying under 70% of what you think you need. Leave space for evolution.
Leave room for pieces you discover when you travel, wander through markets, or stumble upon something gorgeous on Instagram. Future you will be grateful for the breathing room.
Consider: books, vases, textiles, art, plants, candles. But don’t go crazy all at once.
You May Also Like: African Decor Guide: 10 Ideas for a Remarkable Home
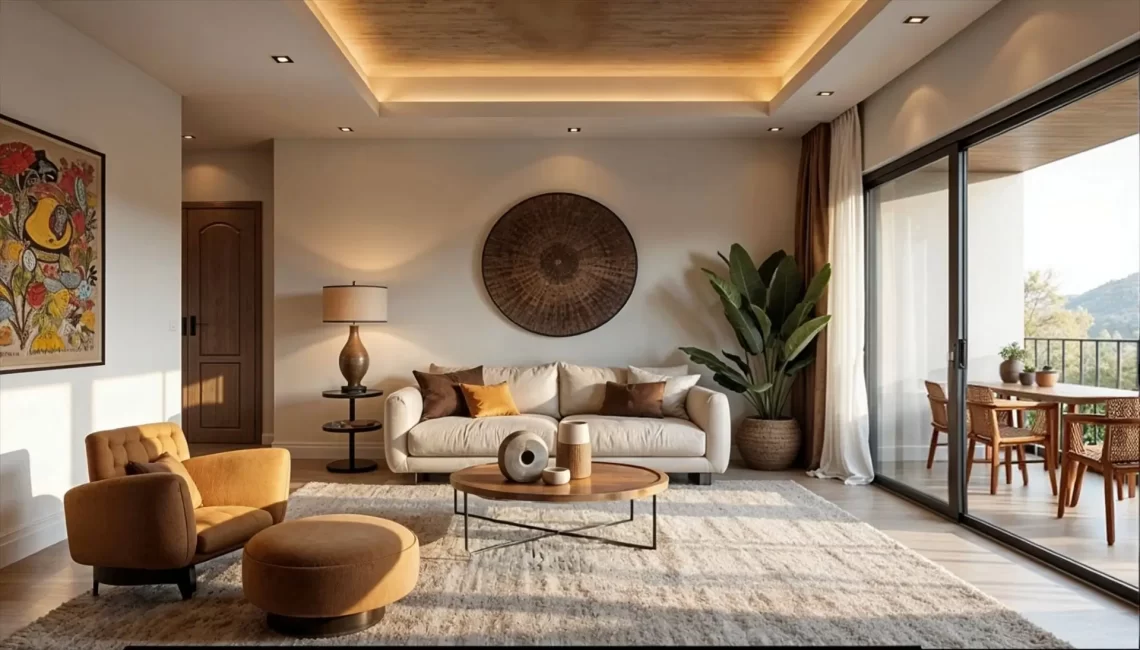
Step 9: Layer in Your Lighting
Most people completely forget about lighting when figuring out how to design a room. They’re so focused on furniture and decor that lighting becomes an afterthought.
Little do they know that lighting is the secret weapon that makes your room look gorgeous and feel inviting.
The Truth About Central Lighting
Your central ceiling light should not be your main light source.
Central lighting is for when you pop into the room for two minutes looking for something. It’s your “where did I put my keys” light.
But when you want to actually spend time in the room—reading, relaxing, entertaining—you need softer pools of light.
How to Light a Room Properly
Aim for at least two light sources if your room is small. More if it’s bigger. Mix between:
- Floor lamps
- Table lamps
- Wall sconces
The bulb matters. Get 60W bulbs at 2700K. This is non-negotiable if you want warm, glowy lighting. Anything cooler looks institutional.
Plus, light fixtures double as decor. A beautiful floor lamp looks gorgeous during the day and creates perfect ambiance at night. It’s working double duty.
How to Design a Room: Your Takeaway
Designing a room that looks intentional and feels right isn’t about having perfect taste. It’s about following a smart process.
Measure everything first. Define what you actually need. Create a visual direction. Make one decision at a time instead of buying everything at once.
The rooms that look the most effortlessly beautiful? They were designed with patience and attention to these details. Furniture can be bought, but beautiful design gets earned.
You May Also Like: Studio Room Design: Smart Layouts & Luxury on a Budget